Festive decorating should feel exciting, not stressful. Yet most people start with a boot full of boxes, no clear plan, and end up with a sitting room that looks like a jumble sale exploded. A proper step by step festive décor approach changes all of that. It gives you a sequence to follow, a theme to anchor every decision, and the confidence to create a home that genuinely looks pulled together. This guide covers everything from planning your palette to hanging garlands without damaging your walls, styling tiered trays, and crafting your own ornaments.
Table of Contents
- Key takeaways
- Planning your theme and gathering supplies
- Decorating doorways and entryways
- Styling a festive tiered tray
- DIY festive crafts: ornaments and centrepieces
- Final installation and finishing touches
- My honest take on festive decorating
- Discover festive décor at Iw1t
- FAQ
Key takeaways
| Point | Details |
|---|---|
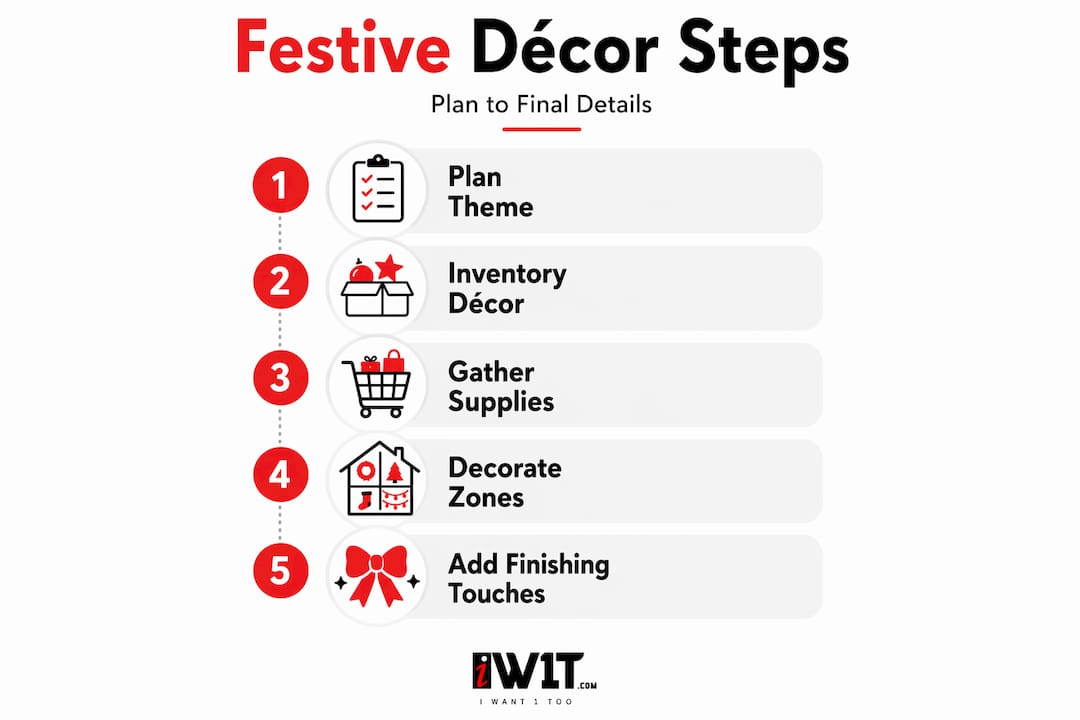
| Plan before you decorate | Audit existing décor digitally and choose a unifying theme before buying anything new. |
| Damage-free installation | Use Command hooks and cable bundlers to hang garlands and lights without marking walls. |
| Style from bottom to top | Build tiered trays starting with the heaviest anchor pieces, then work upward for visual balance. |
| Batch your DIY crafts | Bake shrink plastic ornaments two or three at a time and cool fully before handling to avoid warping. |
| Finish with a cohesion check | Walk through every decorated room and look for the repeating element that ties the whole space together. |
Planning your theme and gathering supplies
The single biggest mistake people make with festive decorating is buying things before they have a plan. You end up with three different colour palettes, mismatched textures, and decorations that fight each other for attention. Before you touch a single bauble, spend twenty minutes on preparation.
Build a digital inventory
Take your phone and photograph every box of existing decorations. Lay items out on a table, group them by colour and style, and delete anything broken, faded, or that simply does not fit the look you want. This digital inventory technique lets you see exactly what you already own before spending a penny.
Choose your red thread
Good festive decorating relies on what designers call a "red thread." This is a single repeating element, whether a colour, a texture like natural wood, or a motif such as stars, that runs through every room and ties the whole home together. It does not mean every room looks identical. It means there is always something familiar to the eye, creating flow rather than chaos.
Zone your rooms and schedule your time
Once you have your theme, map out which rooms you will decorate and to what level. Public spaces like the hallway, sitting room, and kitchen deserve the most attention. Bedrooms and bathrooms can get lighter treatment. Then schedule your installation across two or three weekends rather than attempting everything in one exhausting day.
Here is what you will need to gather before you start:
- Garlands (real or faux, in your chosen colour palette)
- Battery-operated string lights with timer function
- Command hooks and adhesive picture-hanging strips
- Cable bundlers or small zip ties
- Ornaments, ribbons, pinecones, and dried orange slices
- A glue gun, scissors, and floral wire
- Tiered tray and styling props
- Shrink plastic sheets, markers, and a hole punch for DIY ornaments
Pro Tip: Schedule exterior decorating first, then move to public indoor areas, and finish with private rooms. Neutral greenery works brilliantly as a transition zone between bolder themed spaces.
Decorating doorways and entryways
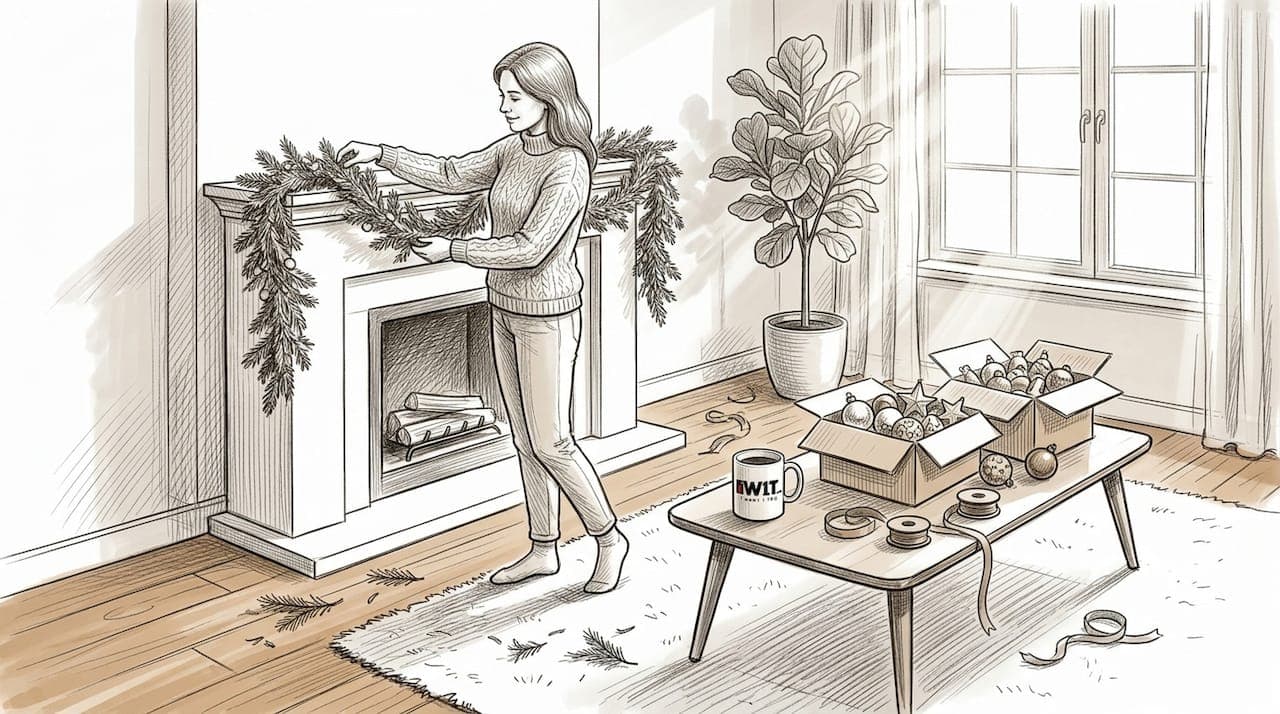
Your doorway is the first thing guests see and the last thing they notice as they leave. Getting it right sets the tone for everything inside. The good news is that you can create a genuinely impressive garland display without drilling a single hole.
Follow these steps for a damage-free, beautifully lit doorway:
- Clean the doorframe. Wipe the surface with a dry cloth so adhesive strips bond properly. Any dust or grease will cause them to fail.
- Plan your hook positions. Mark lightly with a pencil where each Command hook will sit, spacing them roughly 30 centimetres apart along the top and sides of the frame.
- Apply adhesive strips and wait. Press each strip firmly for thirty seconds, then leave for a full hour before hanging anything. Rushing this step is how garlands end up on the floor at midnight.
- Attach cable bundlers. Thread a cable bundler through each hook. These grip the garland stem without crushing it and allow you to adjust the drape easily.
- Fluff the garland. Before hanging, spend five minutes pulling branches outward and rotating them to fill gaps. A fluffed garland looks twice as full as one straight from the box.
- Mount the battery pack first. Secure the battery pack behind the garland at the top using a no-damage adhesive strip. Mounting the battery pack as part of the installation prevents it from shifting and keeps wires hidden.
- Weave the lights in a zig-zag. Starting from the battery pack, weave the string lights back and forth through the garland in a zig-zag pattern. This spreads the glow naturally rather than creating bright spots and dark patches.
- Add embellishments. Tuck in pinecones, dried orange slices, and ribbon bows using floral wire. Vary the sizes for depth.
- Set the timer. Programme the lights to switch on automatically at 5:00 pm so you never come home to a dark doorway.
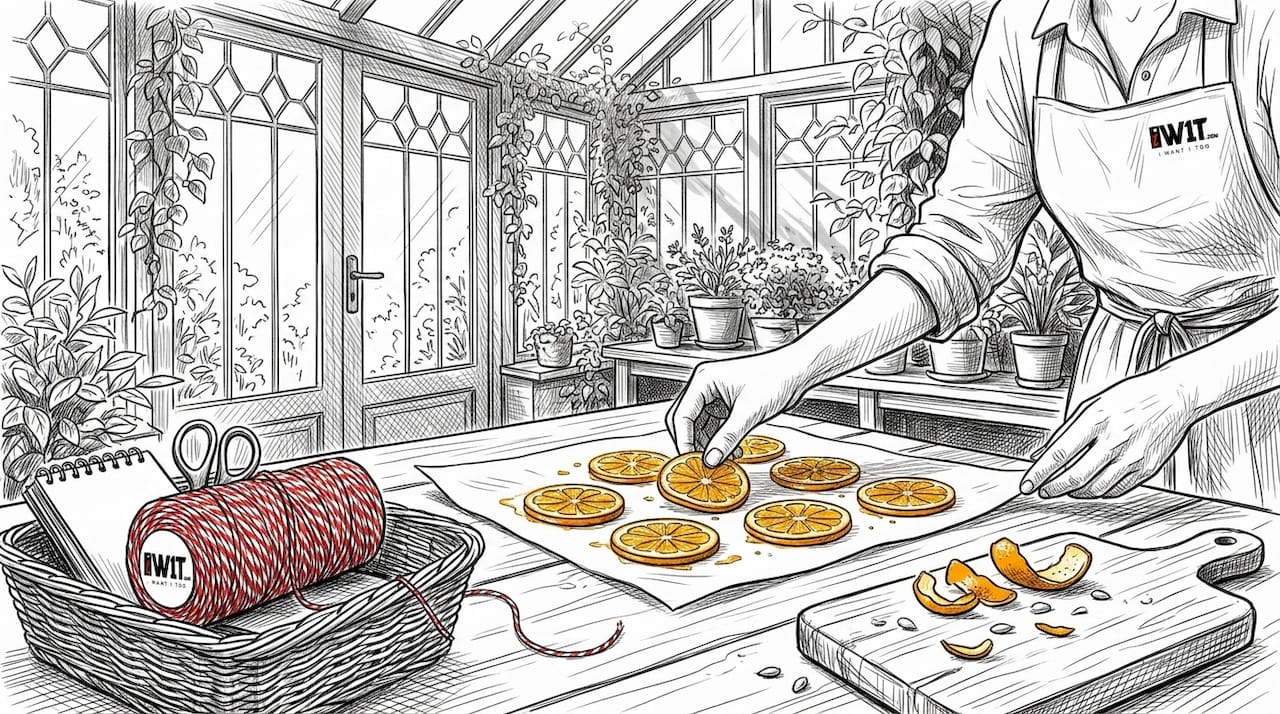
Pro Tip: Dried orange slices cost almost nothing to make at home. Slice oranges thinly, bake at 90°C for three hours, and they last the entire season without going mouldy.
The Command hanging method using cable bundlers and picture-hanging strips is genuinely one of the most useful techniques in festive decorating. Renters especially should know about it.
Styling a festive tiered tray
A tiered tray is one of the most versatile pieces of festive home décor you can own. It sits on a kitchen counter, a sideboard, or a coffee table and works as both decoration and practical storage. The trick is building it with intention rather than just piling things on.
Start by choosing a tray that suits your space. A two-tier tray works well on a kitchen counter; a three-tier suits a hallway console. Pick a clear colour palette of two or three colours before you touch a single prop.
- Gather your pieces in three sizes. You need two to four large anchor items, several medium fill pieces, and a handful of small accents. Think of it as a pyramid of scale.
- Style the bottom tier first. Place your heaviest and most functional items here. A bottom tier styled with anchor pieces and medium fillers creates visual weight that grounds the whole display.
- Build the top tier around one focal point. A small lantern, a miniature tree, or a candle works well. Surround it with one or two supporting pieces, keeping the tier roughly 60% full so it does not look cluttered.
- Add greenery between layers. Sprigs of eucalyptus, holly, or faux pine soften the edges and connect the tiers visually.
- Weave in a string of micro lights. A short battery-operated strand draped through the tray adds warmth without overwhelming the other elements.
- Check height, colour, and texture. Step back and look. You want variation in all three. If everything is the same height, add a small riser under one piece. If all items are smooth, introduce a woven or rough-textured element.
- Keep at least one functional item on the tray, such as a small dish for keys or a candle you actually use.
- Odd numbers of decorative items almost always look better than even numbers.
- Swap out one or two pieces mid-season to keep the display feeling fresh.
Pro Tip: Use a small cake stand or a stack of books as a riser inside the tray to create instant height variation without buying extra props.
DIY festive crafts: ornaments and centrepieces
Handmade decorations add something no shop-bought item can match. They carry a story. Here are two projects that are genuinely straightforward and look far more impressive than the effort involved.
Shrink plastic ornaments
These are a brilliant project for an afternoon and produce ornaments that look almost like stained glass when finished.
- Cut shrink plastic sheets into your chosen shapes, roughly three times larger than the finished size you want.
- Draw or trace designs using permanent markers or coloured pencils.
- Punch a hole near the top of each piece before baking. This is easier now than after.
- Bake two or three pieces at a time on a parchment-lined tray at the temperature specified on your plastic sheets. They will curl dramatically before flattening. Do not panic.
- Remove from the oven and press flat immediately with a second sheet of parchment if needed.
- Cool fully before handling. Full cooling before finishing prevents warping and keeps the hole intact for threading.
- Thread with string, add a bead or two, and hang.
Baker's twine cone trees
These make beautiful centrepieces grouped in odd numbers on a mantelpiece or windowsill.
- You will need styrofoam cones, baker's twine, a glue gun, and small star-shaped cookie cutters for toppers.
- Start wrapping from the bottom of the cone upward, applying small dabs of hot glue periodically rather than covering entire sections. This keeps the twine snug without messy overflow.
- Keep tension consistent as you wrap. Slight unevenness actually adds to the cosy, handmade feel.
- One and a quarter rolls of twine covers three standard cones.
- Finish with a star topper secured with a small bead of glue.
Pro Tip: Batch your crafting sessions. Make all your ornaments in one sitting and all your cone trees in another. Switching between projects mid-session wastes time and increases the chance of mistakes.
Final installation and finishing touches
With your garlands hung, your tray styled, and your crafts complete, the final phase is about placement, atmosphere, and a cohesion check.
- Place taller decorations at eye level and smaller pieces lower down to draw the gaze naturally around the room.
- If your lights look patchy, add a second strand rather than trying to reweave the existing one.
- Declutter between decorating phases. Removing everyday items before adding festive ones prevents the layered, chaotic look that makes a room feel busy rather than celebratory.
- Check that all candles and lights are away from flammable materials. Festive does not mean careless.
- Use warm white bulbs rather than cool white for most indoor spaces. They create a genuinely cosy atmosphere rather than a clinical one.
"The final walk-through is not optional. Go room to room with fresh eyes and ask one question: can I see the red thread? If the answer is yes, you are done. If not, one small adjustment, moving a ribbon, swapping a candle colour, usually fixes it."
Pro Tip: Dim your main overhead lights and walk through the decorated rooms in the evening before guests arrive. You will immediately spot any areas that need more warmth or a touch more light.
For more ideas on how to approach seasonal home decoration throughout the year, Iw1t has a practical resource worth bookmarking.
My honest take on festive decorating
I have decorated a lot of homes over the years, and the biggest lesson I have learned is this: planning is not the boring part. It is the part that makes everything else feel easy.
Most people skip the audit, skip the theme decision, and go straight to buying. Then they wonder why the finished result feels scattered. What I have found is that thirty minutes of planning at the start saves three hours of frustration later.
The other thing I would push back on is the idea that festive décor needs to be elaborate to be impressive. Some of the most striking rooms I have seen used three colours, one repeating texture, and very good lighting. Nothing more. The DIY home décor approach often produces better results than expensive shop-bought sets because it forces you to make deliberate choices.
Embrace the imperfections in your handmade pieces. The slightly uneven twine wrap, the ornament that is not perfectly centred. These are what make a home feel lived in and loved rather than staged for a catalogue.
— Scott
Discover festive décor at Iw1t

If you would rather spend your time decorating than hunting across multiple shops for the right pieces, Iw1t has done the curation for you. As a family-run UK store, Iw1t brings together a carefully selected range of festive home décor and practical accessories that complement every step in this guide, from garland-hanging tools to tiered trays and craft supplies. Everything is chosen with real homes in mind, not showrooms. Browse the collection at Iw1t and find the pieces that make your step by step holiday decor feel genuinely effortless. Quality, style, and fast UK delivery, all in one place.
FAQ
What is the easiest way to hang garlands without damaging walls?
Use Command hooks with adhesive picture-hanging strips and cable bundlers to secure the garland stem. Apply the strips, wait one hour before hanging, and the adhesive bonds firmly without leaving marks when removed.
How do I choose a theme for whole-home festive décor?
Pick one repeating element, a colour, a texture, or a motif, and use it in every room. This "red thread" creates cohesion without making every space look identical.
How many items should go on a tiered tray?
Use two to four large anchor pieces on the bottom tier and keep the top tier roughly 60% full with one focal point and one or two supporting accents. Odd numbers of smaller items tend to look more natural.
Can I make festive ornaments without specialist equipment?
Yes. Shrink plastic ornaments require only scissors, permanent markers, a hole punch, and a standard oven. Bake two or three pieces at a time on parchment and cool fully before finishing.
How do I stop festive lights looking patchy on a garland?
Weave the string lights in a zig-zag pattern through the garland rather than draping them along the front. Mount the battery pack securely at the top so the strand stays evenly distributed throughout the season.